Welcome to weeks 6 & 7 in one post! Yep, for this week's post I'm going to set you up for the next two weeks and you'll be off and running. I'll be checking in on IG and over on our private FB Group of course. But since not much instruction is needed I figure we could all just get down to business. So, Week 6 can basically be sewing rows and assembling the quilt, and Week 7 can be considered a freebie or a catch up week for those who need it.
 So I think it's safe to say that these two weeks are pretty basic and not a lot of explanation is necessary. Please refer to page 12 in the pattern for the instructions and read on for more details.

The classic version is very straightforward and literally just sewing the blocks together.
The scrappy version, may require a bit more attention to layout.
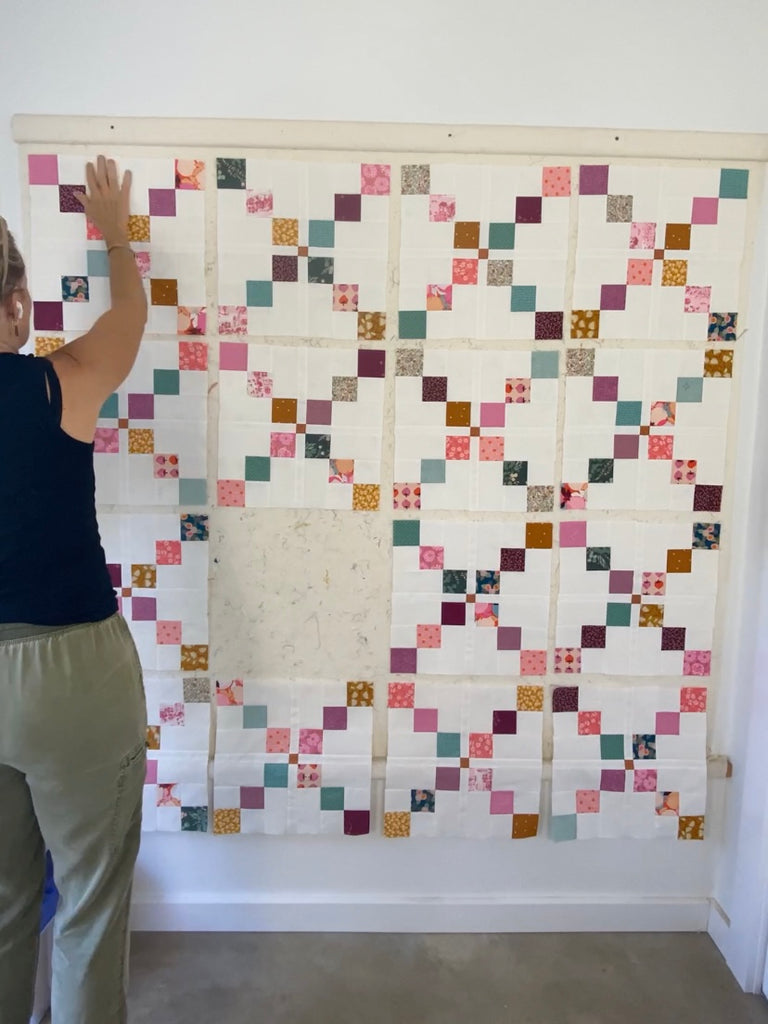
I like to use my design wall for this part.
I arrange and rearrange my blocks many times before I decide on the final layout. This can also be done on a large table or the floor. When I'm happy with the layout, I take a photo (just in case) and then I just stack the blocks and number the rows so I know how to put it all back together. Check out the video above for more details!
Creating Rows-
You'll need to attach an A sashing strip in between the blocks to create rows.


Again, I would pay close attention to the small center square, being mindful to nest the seams (and optionally pin) before sewing.
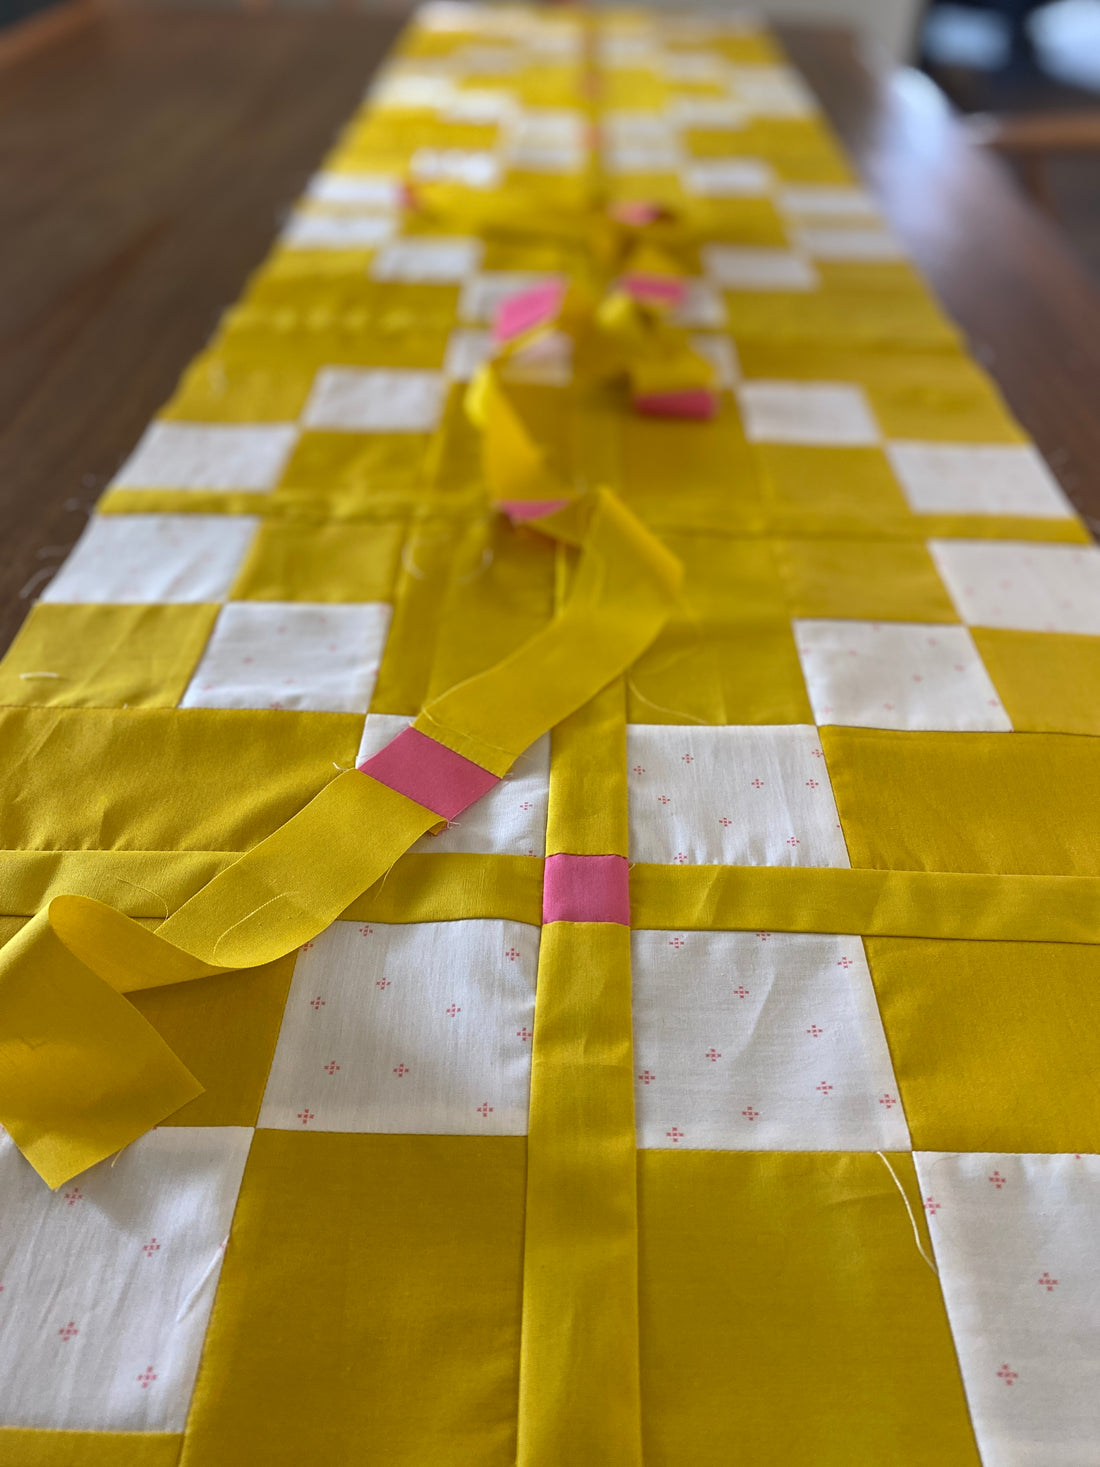
Attach the B sashing strip-

This is a good one to do on a longish dining room table, or on the floor. I like to lay out my row and then align the long B sashing strip RST making sure to nest the seams at all the small squares and strips.

I would definitely recommend pinning these pieces prior to sewing. It's a bit more work but these long strips can get pretty squirrelly and I just find it much easier to have them pinned together.

Continue by adding the next row to the B sashing strip. Repeat until your quilt top is all together. And YOU ARE DONE! Do your happy dance, pat yourself on the back and go get some awesome photos of that beautiful quilt top!! Mine are not finished yet, as I'm completing them in real time with all of you. So stay tuned!
Okay, so let's talk SPONSORS shall we?

Our week 6 prize will be offered by the oh so talented Jenae of @vintagestitches. She will be offering one lucky winner FREE long arm quilting!! That's right! Wow! Week 6 winner will be announced on Sept 27th. ALSO, Jenae is extending a 20% discount to ALL Harken QAL participants... just because!! Please contact her with the code word that was given in the QAL newsletter this week to redeem your 20% off.
So how about WEEK 7 you ask? Well since it's a catch up week, some of you might be getting ready to plan another Harken Quilt or perhaps have another pattern/project on deck and ready to start. Our generous Week 7 Sponsor will be @bindedwithlove fabric shop! Sara makes some super yummy bundles and has tons of gorgeous yardage. She is offering a $50 gift code to her shop. Winner will be announce on Oct 4.